Get Started Advanced Music Manager UE5
The following is a step-by-step illustrated guide on how to set up and use the Advanced Audio System in your project.
Download and Installation
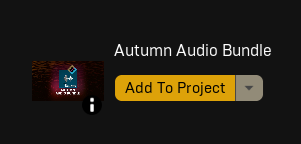
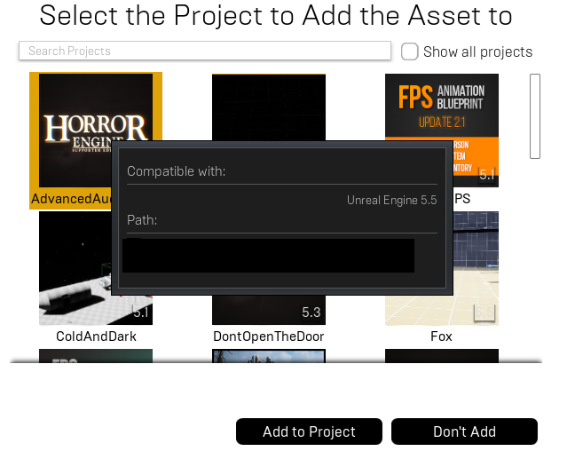
First things first you must download the most recent version of the project by clicking add to project in your Epic Games Launcher and selecting the project you wish to add the system to. (Figs 1 & 2) If the project you wish to add the system does not appear, you may need to click Show All Projects in the popup.
This system has been tested and is known to work on: Unreal Engine 5.0 through to 5.5
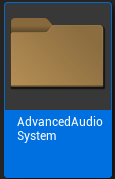
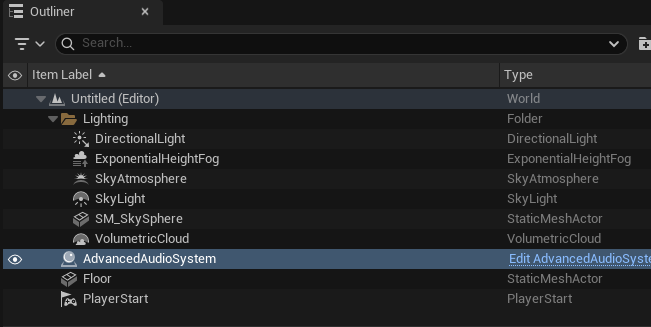
Afterwards, you should see the Advanced Audio System folder inside of your content drawer inside of your project. (Fig 3)
Adding the System to Your Level
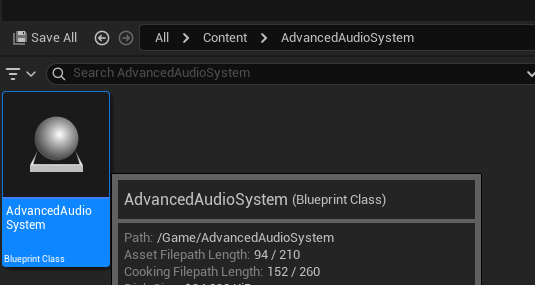
Now it’s time to add the system to your level! To add it to your level, simply open the Advanced Audio System folder and drag and drop the Advanced Audio System blueprint into the level. (Figs 4 & 5)

System Options and Customization
Now, let’s look at some of the options included within the system and how to customize it for your project. This system is 100% blueprint and is exceedingly easy to use and set up. All the options that 99% of users will need are exposed right at the moment you first click on the system in your project.
After you drag the system into your world, you’ll be able to see the following variables:
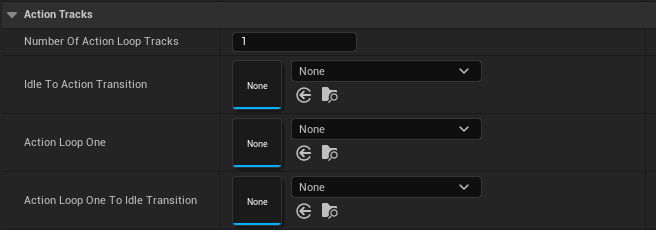
Idle Tracks, Action Tracks, Sneak Tracks, Horror Tracks & SYSTEM — DO NOT CHANGE. The System — Do Not Change variables are exposed for tracking purposes, so you can watch the system work. Any changes you make from the front end will be lost and ignored, so do not mess with it. It is useful to view the system and make sure it’s accurately tracking song length, BPM, etc. as well as what the current track type is.
By default, each track will only have one loop, and each loop will have a transition to idle. You can add as many as you’d like by simply dragging the number of <name> loop tracks variable and adding new loops. By default, the system will always transition into the first loop, and you are limited to a total of 5 looping tracks. You may add more but it will require some blueprint editing, which will be shown later.
Now simply add the tracks you wish to use, and then we’ll cover calling the system in world and causing a transition.
Triggering Transitions: Worked Example
By default, the system will always load into Idle. To change the current track, all you need to do is call a custom event to transition into a different track type. The system includes custom actions to transition from idle to the different track types and back again, all you need to do is reference the system and call the custom event.
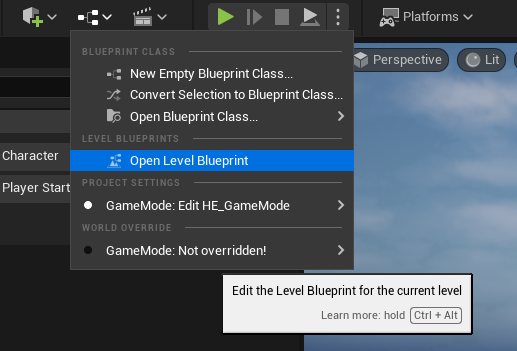
For this example, we will simply transition from idle to action by calling the system in the level blueprint.
Firstly, click on the system in your level and then open the level blueprint.
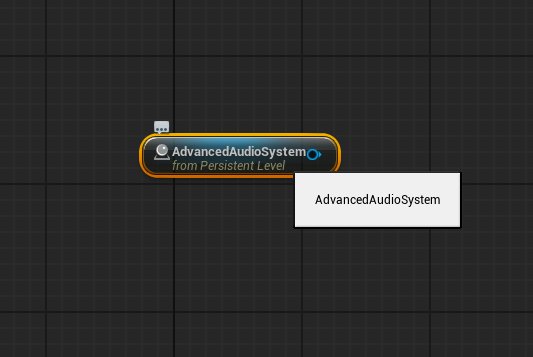
Inside of the level blueprint right-click and click on Create a Reference to Advanced Audio System.
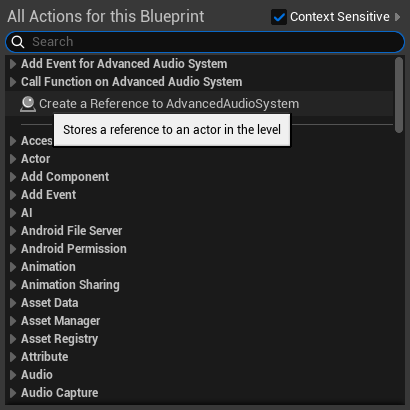
Now you should see this inside of your level blueprint.
Now simply hover over the blue output node on the end of the advanced audio system reference, press and hold left mouse and drag your mouse outwards to call the system, then release your left mouse button to get the context menu to appear.
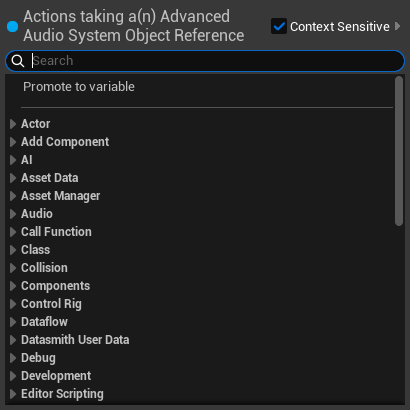
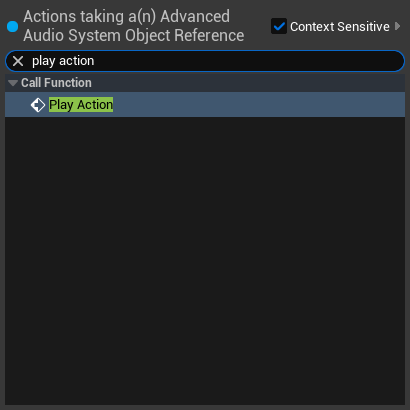
For this example, we’ll call the Play Action event. Simply type Play Action in the search bar that appears and press Enter when it is highlighted. If multiple options appear, use the arrow keys to select the one you want.
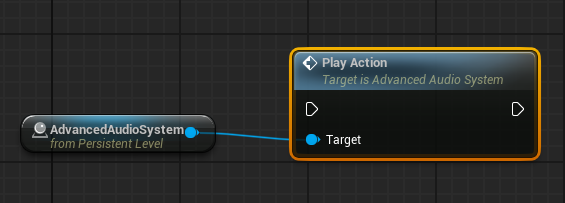
Now your level blueprint should look something like this.
Executing the Transition with a Trigger Box
To cause this event to happen, we must execute the event. You can do almost anything to cause this to happen but for this example, we’ll simply use a trigger box to trigger the event.
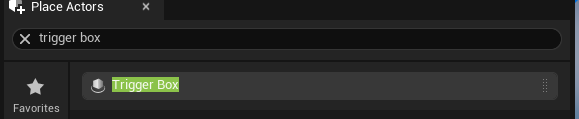
To do this, create a trigger box by typing Trigger Box in the search box on the Place Actors dialog.
Now drag the trigger box into your level and open your level blueprint. Do not select anything else after you drop the trigger box, or you will have to manually select it in your outliner or within the level.
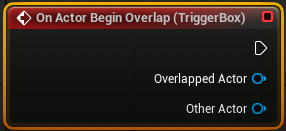
Right-click inside of the level blueprint and type on actor begin overlap.
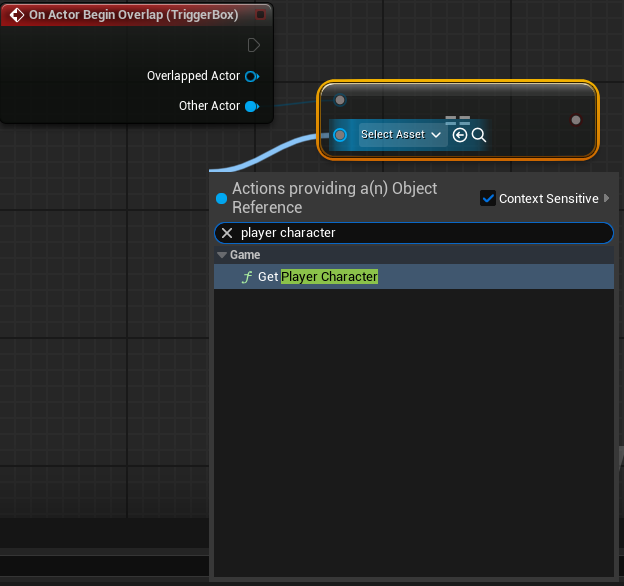
Drag out from the ‘other actor’ output and type == and press Enter to create ‘equals’. From the B input, drag back and type Player Character and hit Enter.
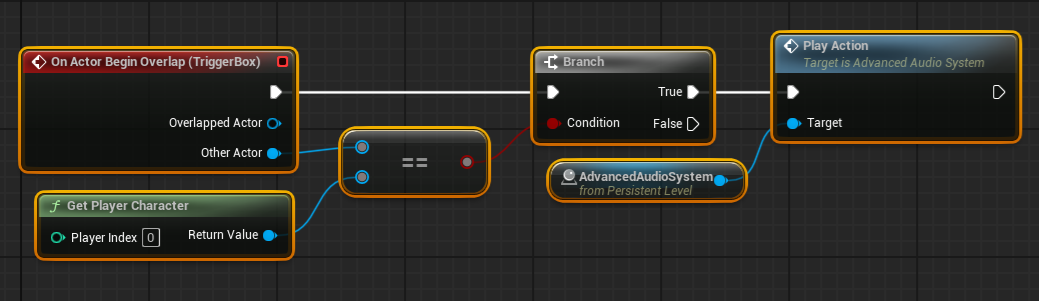
Now drag off from the red boolean section of the equals box and type branch and hit Enter to create a branch. Then drag from the execute pin of the On Actor Begin Overlap node to your branch, and from true to Play Action. When done, it should look like this:
Now, when your player character overlaps with that trigger box, it will transition into the action track. You can easily imagine that this could be accomplished by AI detecting the player or other more advanced options to trigger the action state. To transition back to idle, simply call the Play Idle event and the system will transition back to idle state automatically.
For this example, we’ll simply wait 10 seconds and then transition back so you can easily test the system on your end and make sure it’s working properly with your audio.
Drag from the Play Action output node and type Delay to create a delay. Set the delay to 10 seconds. Now, select the output node of the Advanced Audio System and drag it past the Delay and type Reroute Node and hit Enter. This is optional, just to keep your code clean. Now from that reroute node type Play Idle and hit Enter. Now simply run the Play Idle action.
Afterwards, this is how it should look.

This concludes the example.
Customizing for More Tracks
Next, I’ll show you how to customize the blueprint to add more track options.
First, you should determine how many more tracks you will be adding. For this example, we’ll simply add one more track.
Open the Advanced Audio System blueprint and click on the number of <name> loop tracks integer variable. Change the SLIDER RANGE and VALUE RANGE max from 5 to 6.

And that’s it! Previously, it was slightly more complicated and involved creating extra events, but with this version of the system all of that is handled automatically by the “create additional track” function.
Troubleshooting
- There is no audio! Please make sure you add audio cues to the system. Please make sure your volume in engine is not set to 0.
- The transition isn’t working. Please make sure there is a transition track for each of the custom loops. If a track doesn’t have a transition, it will simply fade back into idle.
For more issues see the Troubleshooting Guide.
Need More Support?
Reach out via Discord or email support@hatchfoxstudios.com.au.